Raw Onion Rings

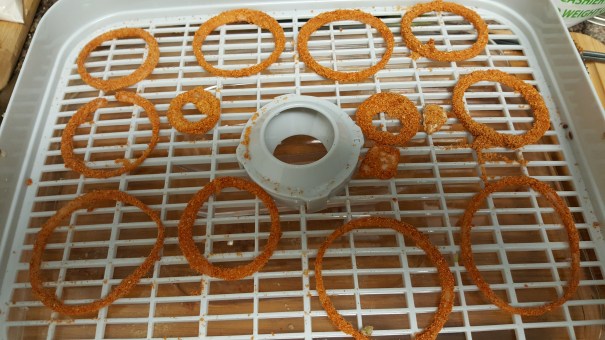
One of the dishes prepared by the Garden Kitchen was onion rings. I thought how hard could it be? Rawmazing had a recipe I chose to try. The directions called for a large sweet onion. Because I was trying this for the first time I used what I had on hand, a small onion. This will explain the size in the picture. I didn’t dredge it twice either as the recipe called for. This was a test run for flavor and dehydration time limit. The recipe uses almond pulp and almond milk. I recommend making your own almond milk and use the pulp left behind. That’s easy too. Homemade almond milk taste so much better than store bought. 

Onion Rings p,55

1 large sweet onion

4 cups almond milk

3/4 cup almond milk pulp, dehydrated

1 cup ground flax seeds, ground

1 Tbls smoked paprika

1/2 tsp ground chipotle

1/2 tsp Himalayan salt

Slice the onions and put in a container with the almond milk. Let it soak.

Dehydrate the pulp left from making the almond milk.

Place dehydrated almond pulp, ground flax seed, spices and salt in the food processor.

Separate the mixture into two batches. Dredge one batch at a time. Place the drained onions in one batch flax mixture. Dip in the milk again then back into the mixture.

Dehydrate at 115 degrees for 6-8 hours or until they are almost dry. The breading should be dry but the onions still moist.

20170429_134500 (1)

Eating Raw 2

This post was originally written in April at the beginning of my cooking raw journey. Each successive post will bring you closer to my present August experience.

I decided to go all in to this raw eating thing so I bought an inexpensive dehydrator and a raw food cookbook or should I say recipe book. As my very smart husband pointed out, others had tried and tested techniques and flavor combinations, why not take advantage of that. So I did. I was glad to know there were choices beyond salads.

In the following raw eating post I will share my experiences preparing the recipes in Rawmazing authored by Susan Powers. I will note any changes to her recipes to accommodate our taste just in case you decide to buy her book. Her directions are easy to follow and the pictures are vibrant. For the raw purest you will need to find substitutions for the oil. I used tahini and cashew butter(cream). Also, I used Dr. Montgomery’s book The Food Prescription Nutrition Guide

I had not used a dehydrator before and I didn’t know what to expect so I went for something simple. The first thing I tried were Ms. Post’s Kale Chips. It seemed simple enough. She has 3 versions. I chose version 2. The ingredients are garlic, thyme and oil. For the oil I substituted tahini. Mix those ingredients and set it aside. Cut the thick stems from the kale and tear the leaves into chip size pieces. Make sure all excess water is removed from the kale. Then dress the kale with the garlic mix . Put the pieces on the dehydrator trays. Don’t overlap. The suggested time dehydration time was 4-6 hours at 115 degrees. Because of the Houston humidity, it took 8 hours to crisp. My taste tester, hubby, was quite pleased. He wanted to eat them like potato chips.

If you don’t have a dehydrator pop them into your oven on a low heat, 120 degrees if possible. If you put it on a temperature higher than 170 degrees and some say 200 degrees, you will destroy all of the health benefits from eating raw; you will kill the enzymes.

I am so sorry that I don’t have a picture. I lost it somehow.

Kale Chips – Rawmazing p. 41

Dressing

3 Tbls olive oil (I substituted tahini.)

1 cloves garlic

1 tsp of dry thyme

Turn on the food processor or high powered blender. Drop the garlic, thyme and oil into it.

Place on dehydrator sheets and dehydrate 4-6 hours. More longer if you are in a humid area.