Homemade Apple Butter

I love homemade apple butter. It brings back warm, loving,memories of hot biscuits on Sunday morning at my grandmother Modear’s  breakfast table. Thinking about it is as comforting as big hugs. Over the years since leaving home, I have not found GOOD apple butter. Some didn’t even have that smooth texture much less the remembered taste. One day I saw a jar in the Polly’s Pies Restaurant. It looked right. I picked it up to give it a try and all the disappointing memories popped up. I decided to try making my own and put it back on the shelf. I searched for a recipe and found it in Fannie Farmer cookbook that I have owned for over 30 years.

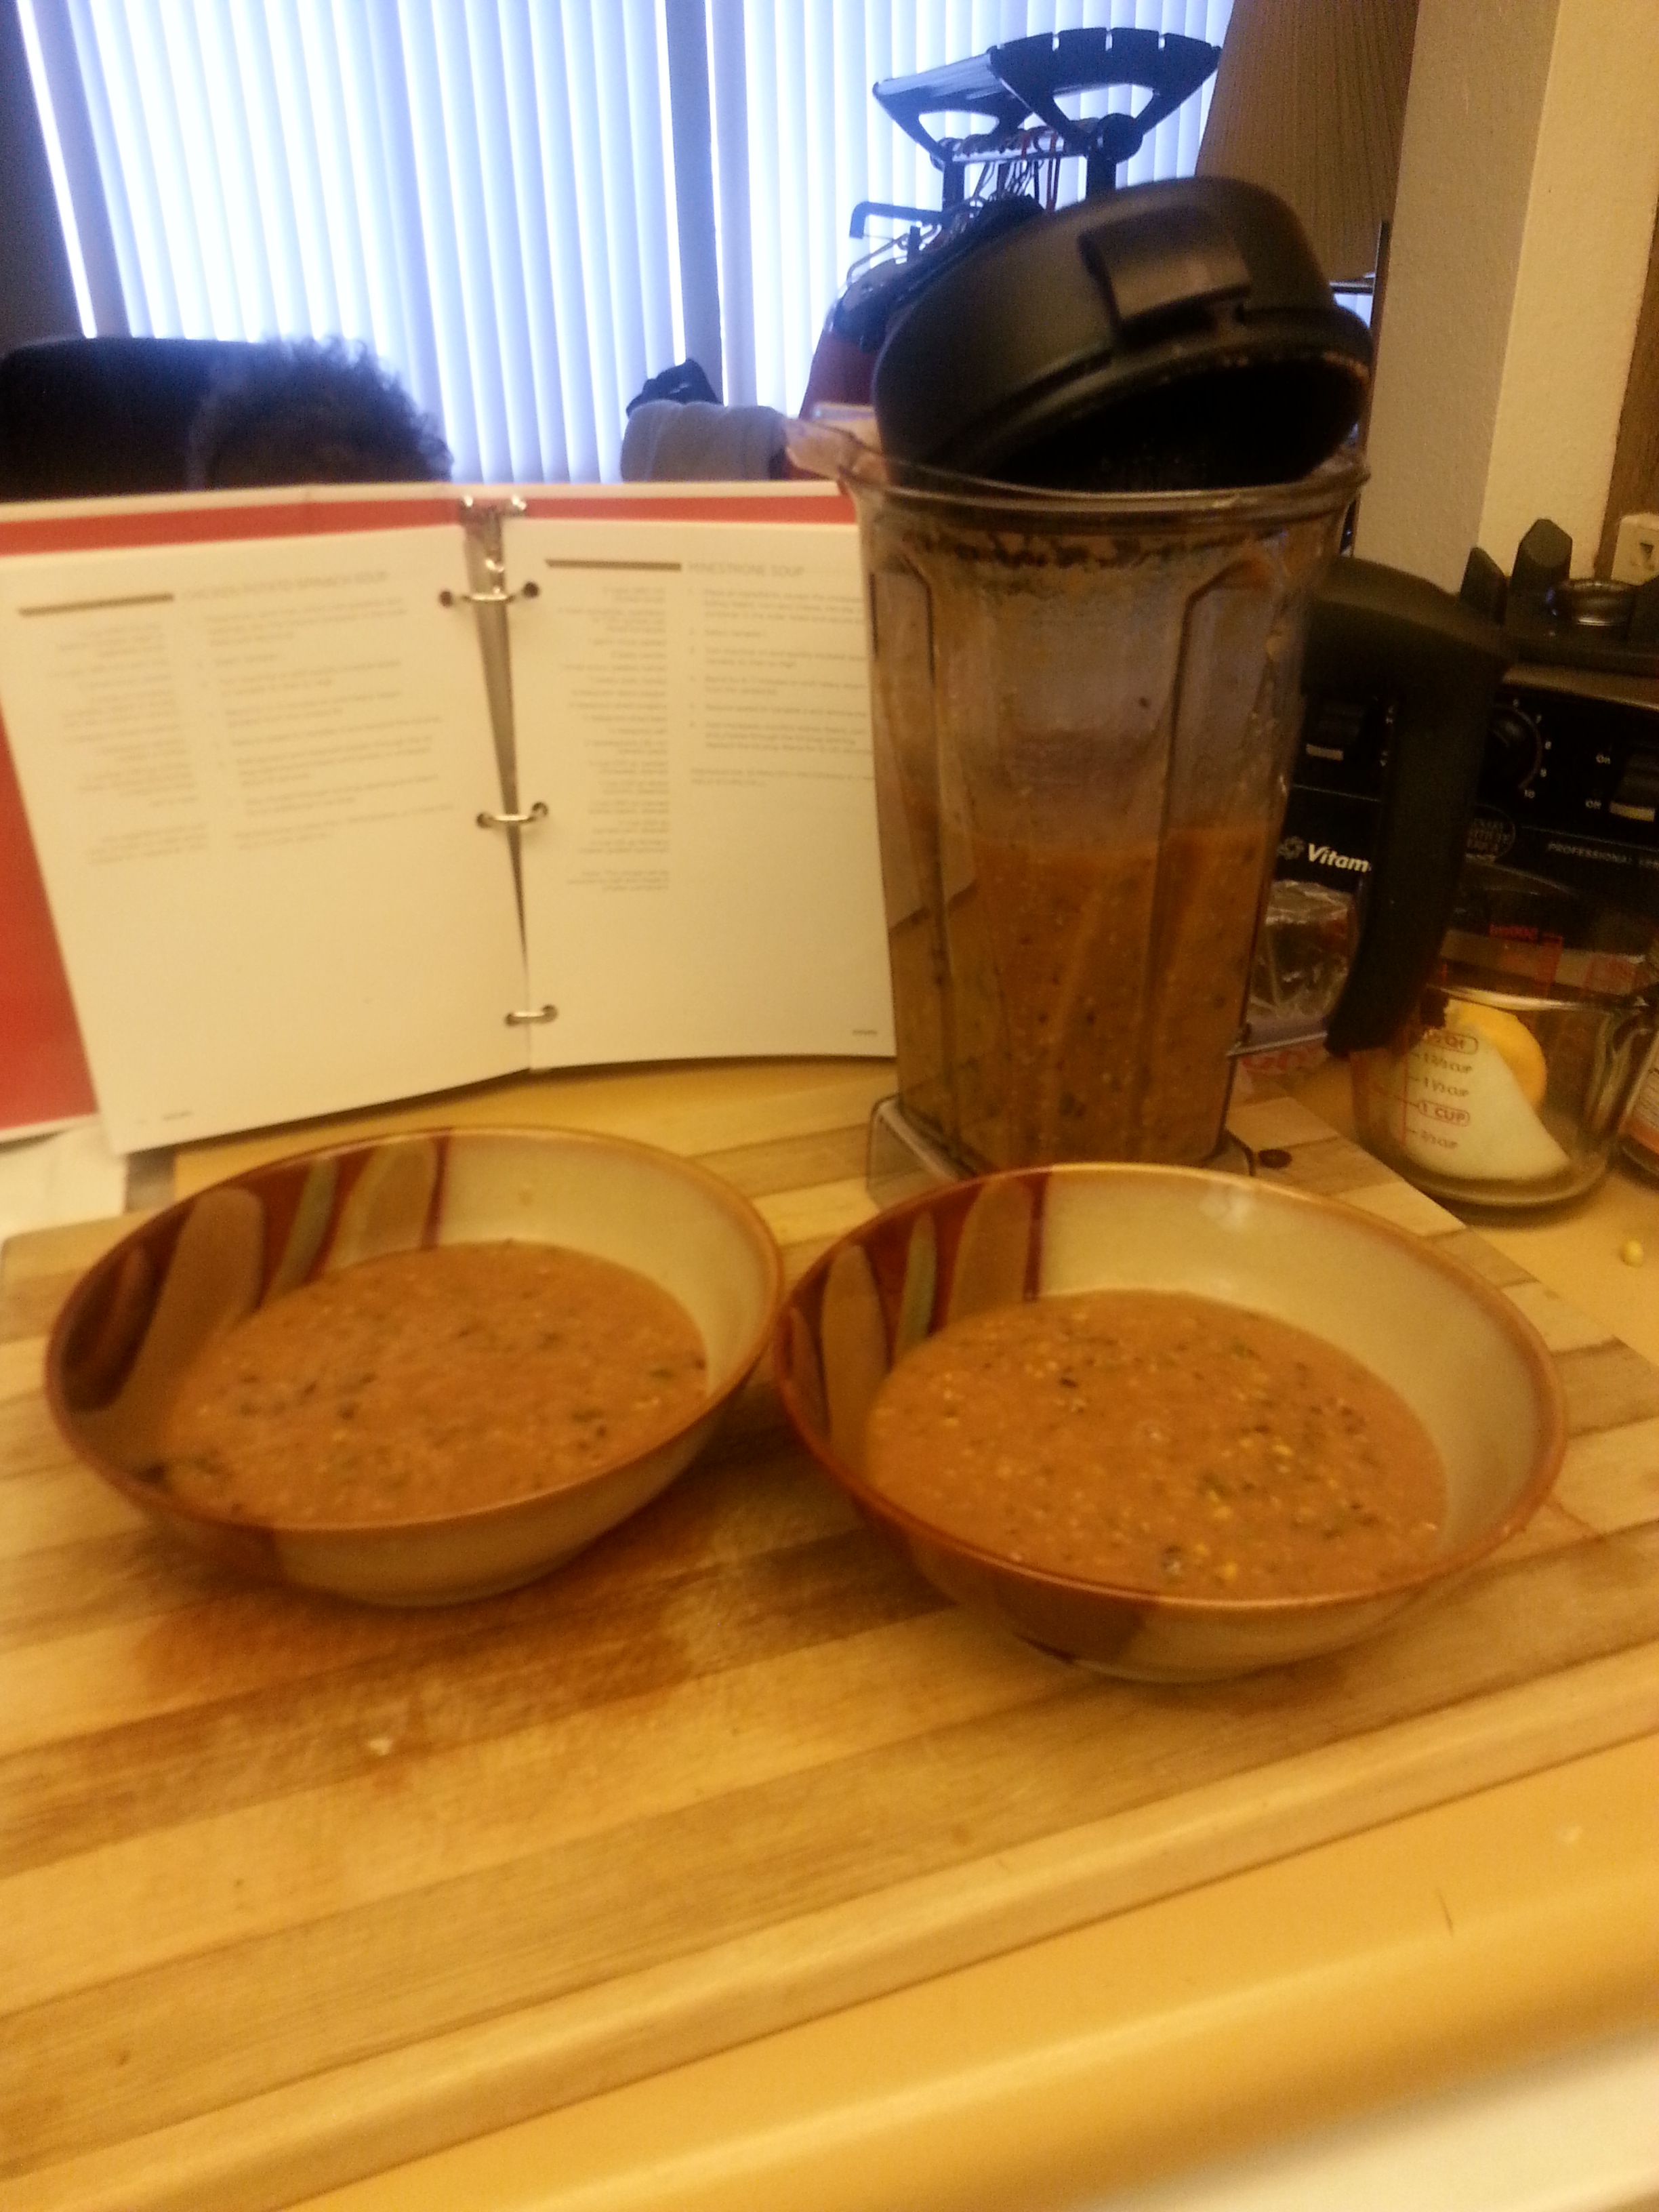
I did make a few adjustments. I don’t typically use white sugar but I had about 1/2 cup left from a bag my daughter-in-law bought on her last visit. I supplemented with agave. I also added a red delicious apple to the granny smiths apples. I didn’t simmer until smooth because it took too long. I let it cool about 10 minutes and then put it in the blender. I blended it until smooth, less than a minute.

The results were just as I remembered. Warm, creamy, comforting and safe; all those taste and feelings of Sunday morning breakfast at Modear’s. I made biscuits and it was Hmmmmm good!

This slideshow requires JavaScript.

4 lbs tart apples

 ∗I added a real sweet red delicious apple for added sweetness

2 cups cider, cider vinegar or water

∗I used water to cover the apples and 1 c apple cider vinegar

Sugar

 ∗ I used 1/2 c sugar and 1/2 c of agave

Salt

2 tsps cinnamon

1 tsp  ground cloves

1/2 tsp allspice

Grated rind and juice of 1 lemon

  ∗ I used the whole lemon except seeds

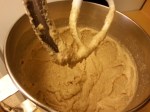
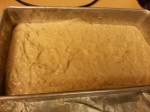
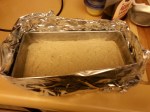
Cut the apples into pieces without peeling or coring them. Put them in a pot, cover with the cider, vinegar, or water and cook until soft. Put through a sieve or food mill. Measure. Add 1/2 cup sugar for each cup of apple pulp. The whole mixture, add a dash of salt and the cinnamon, cloves, allspice, and lemon rind and juice. Cook, covered, over low hear until the sugar dissolves, taste and adjust the seasonings. Uncover and cook quickly, stirring constantly to prevent burning, until thick and smooth when a bit is spooned onto a cold plate. Pour into hot, sterilized jars and seal.

Continued Search for Gluten-free Sandwich Bread

I have tried several different recipes for gluten free bread. They all have been described as guaranteed sandwich bread. The first one I tried looked okay but crumbled when you sliced it. That was the result for several of them. I was about to give up and then I found the recipe using Teff flour online. This bread is gluten-free, soy-free, dairy-free, egg-free and vegan bread. I have no health need that actually requires this kind of bread but if I can find one that is gluten-free that tastes good and slices for good sandwiches, I am on board. I am interested in anything that reduces inflammation. Arthritis, you know.  🙂

I didn’t know about Teff flour. It is a grain used in Ethiopian cooking for baking and as a side dish. It’s color ranges from light to dark  brown. I used a brown teff because it is the one I found in my favorite market. Bob’s Red Mill Teff Flour

I am learning about different kinds of flours and their uses. My only experience with sorghum was syrup my great-grandfather bought from a friend in the country. I didn’t know it could be made into flour. The recipe is below. It makes two loaves.  Enjoy

This slideshow requires JavaScript.

1 1/2 cups millet flour

1/2 cup teff flour

1 cup sorghum flour

1 cup cornstarch (double the potato starch if you can’t eat corn)

1 cup potato starch

1 cup tapioca flour

4 tsp xanthum gum

1 tbsp salt

1/2 cup sugar

2 Tbsp active dry yeast (not rapid rise)

Add:

4 tsp olive oil

3 1/4 warm water (not hot)

I halved the recipe to make one loaf. I mixed the ingredients much like making regular wheat bread. The difference is, there is no need to knead the mixture.  I allowed it to rise about 50 -70 minutes sitting on top of a warm stove. I baked at 400 degrees for 10 minutes uncovered. I then baked covered it covered for 35-45 minutes. When it has baked completely, let it rest on a rack to cool a little.

As you may have noticed in the picture the bottom and sides were beautiful. The top cracked open. I don’t know why. It was delicious while warm. The next day the top and sides were hard and a little more difficult to slice. After three days it began to mold. I guess we don’t eat it fast enough. Refrigeration was not an option because it dried out the loaf.The source of the recipe suggested making bread crumbs, or croutons after the second day.  I should have done that.

I may try it again or I may just turn to flatbread for sandwiches.

To read the recipe and the full instructions aprovchar.danandsally.com


Teff Flour Cornbread

First of all what in the world is Teff Flour? Growing up in the southern United States the only flour you are usually familiar with is all purpose white flour. Unless you are from another country and it is common to your culture, you may not even realize there is another kind of flour. I discovered Teff flour when I was looking for a recipe for a gluten-free loaf of bread. That outcome is another post. Back to the cornbread.

I had made a Quinoa-lentil soup and I decided I needed cornbread to complete the meal. I looked in my pantry and discovered the types of flours I had purchased didn’t inspire me.  I checked my vegan and gluten free cookbooks for a four blend that would be satisfying. I was missing some ingredient. On my way home from church I had the thought use psyllium husk and Teff flour. The words of my friend Morgan came creeping into my thoughts. Write down your experiments and write your own cookbook. I don’t know about the cookbook but I tried my first true experiment: Teff Flour Cornbread

1 c Teff Flour

20160320_133110[1]
Before Cooking
1 c Cornmeal

1 tbl psyllium husk

1 tbl baking powder

1/2 tsp salt

1 tbl coconut oil

1 – 2 tbl olive oil

2 eggs

nondairy milk as needed for desired consistency

Let sit for about 5 minutes so the psyllium husk can do its thing. Bake at 375° for 25 minutes

20160320_140134[1]
After Cooking
It didn’t rise as high as I had hoped but it tasted good. The texture was true to cornbread and it was great with the soup. I call my first true experiment, my recipe a success. I will try more psyllium husk or baking powder next time. You are welcome to try it and modify. Let me know your results.

Teff Flour Cornbread and Quinoa-Lentil Soup

20160320_140456[1]


What I’ve Been Up To

Like any scientific endeavor, food scientist must spend some time in research. I decided to save myself some time with making my own condiments. I know there have to be food techs out there that have published their findings. I found two that seemed promising. They were

Homemade Condiments: Artisan Recipes Using Fresh, Natural Ingredients
Homemade Condiments: Artisan Recipes Using Fresh, Natural Ingredients by Jessica Harlan
and
The Homemade Vegan Pantry: The Art of Making Your Own Staples
The Homemade Vegan Pantry: The Art of Making Your Own Staples by Miyoko Schinner

Unfortunately, the first one was out of stock. I purchased the second and I have been very pleased with the information contained in the book.

I have been interested in vegan and gluten-free cooking, so this book provided vegan options. In one place I can find instructions for condiments and sauces. There are explanations regarding seaweed, tempeh, and soup concentrates. I am most excited about the vegan cheese recipes. The instructions are clear.There are also recipes that use the items.

I also discovered another book that I will mention here but it deserves its own post. It is The Healthy Mind Cookbook. God knows my mind needs all the help I can get.

My Garden Beginnings

I have been thinking of beginning my own organic container garden but I just kept putting it off. I am not a natural garden interest type person. I just like the fresh produce. One day I was standing in my favorite organic market looking at the cost of vine ripen organic tomatoes and thought if I had started my garden by now I would have my own. I then moved to the yellow bell peppers and the cost of those were ridiculous.

That’s it. I am starting this garden I declared inside.

I bought organic soil and fertilizer after conferring with a successful gardener friend. I proceeded to the plant section to discover that they sold organic seeds but not organic seedlings. I googled organic nurseries in my area and found one very close to my home. I thought they only sold landscape vegetation. I discovered they sold non-GMO organic vegetable plants.

Inside myself again I screamed “Yes!”

I bought yellow onions, green onions, jalapeno pepper, green bell pepper, yellow bell pepper and tomato plants. I spent approximately 15.00 for a sustainable supply of veggies.

20160215_165016

The other thing I did to insure some of these plants had a chance at survival was to purchase a self-watering container. It holds two gallons of water and the plants drink as they need it. The tomato and jalapeno plants are in a conventional pot. I pray I don’t kill it. My thumb is real light green.

 20160217_151024                                            It has begun.20160217_151013

Back In the Lab 2

If you are like me, long blog posts sometimes get to be tedious. That’s why I broke Friday’s laboratory experiments into several parts. Continuing.

Country-Style White Loaves
20160115_122001

I tried to find the link for this recipe but there was only links to the book. It is The Art of Cooking Recipes and Techniques(The Cooking Club). The basic elements were all purpose flour (white), yeast, sugar, butter, milk and water. Those who know me personally, this recipe is healthy sacrilege. I must tell you I paid the price. I believe it was the source of gastrointestinal disturbances and inflammation pain in my joints. The reason I used these ingredients was because I bought the flour for Christmas desserts that we did not make. I decided to use it up and then replace it with oat flour or gluten-free flour. It was okay. Heavy like my great-grandmother’s.

Homemade Ketchup20160115_131340

This recipe is found in The Daniel Plan Cookbook. I used this recipe but I didn’t have enough sun dried tomatoes. Once again I substituted. I used ripe Roma tomatoes. I guess we are so used to the store bought kind that the sweetness was a little much. I don’t know if the tomatoes and honey combination was the source. I will use it and make the next batch with the sun dried tomatoes as instructed. I also checked the ingredients on the organic ketchup I had bought before. It contained more spices. Maybe I will add some of these spices on the batch after that. Continuing to experiment until I get the taste we want.  Ketchup


Vitamix Minestrone Soup

20160115_151027

I’ve wanted to try making minestrone soup for a while. I found a recipe that appeared to be similar to The Olive Gardens’ Ministrone. Before I had a chance to try it, I discovered a recipe in my Vitamix cookbook.  I tried it with a few changes. I used black beans instead of kidney beans and vegetable broth instead of chicken broth. I guess I blended it a little longer than necessary because my soup looked creamier than theirs. However, it tasted good. My husband and I decided mine would make a good spaghetti sauce. Here is the link for the recipe. It is worth a try. It is a tasty, quickly made soup. Vitamix Ministrone.

Some adjusting and changes will be made to better suit our needs and lifestyle.

Happy Experimenting.

Turkey Sausage Revisited

A few weeks ago I tried a homemade sausage recipe that I found. In that post I gave the source credit for the recipe. This time I tried it just as she wrote it except I substituted vegetable broth for chicken broth.

  1.  I bought a turkey breast and a turkey thigh. Using my virgin boning knife I removed the meat from the thigh bone. The breast was already removed from the breast bone. I must admit this process caused me to consider becoming a vegan.
  2. I used my KitchenAide meat/nut grinder to grind the meat. I used both the light meat and the dark meat believing the dark meat would add a little fat. My hope was that the turkey would be juicier.
  3. Next I used my mortar and pestle to grind the basil and oregano.
  4. I added that along with the rest of the spices to the ground turkey.
  5. I used vegetable broth instead of chicken broth.
  6. Mixed it all up be sure to evenly distribute the spices.
  7. Finally, into the pan it went. I used a little oil in the pan so the patties wouldn’t stick. I think I used grapeseed oil or it might have been coconut. Either works.
  8. The results were very good. It was less dry but not what I wanted. Sooooo

Next time, I will bake a turkey part and use the drippings to add a little fat to the mixture.

For the recipe review Making Turkey Sausage.

This slideshow requires JavaScript.

A Natural Sedative

“Food is thy medicine. medicine is thy food.” -Hippocrates

A few days ago I made a vegetable-juice smoothie for my lunch. I drank it while visiting my husband. I shared it with him. That was not a good idea. Yes, he needed the nutrients and it was healthy but there was a sedative in the drink.  I had no idea. My alert husband was suddenly a very sleepy man. I thought his medications were the culprits but alas, it was me and my juice. I don”t know why I didn’t get as sleepy. I looked back on my day and I did get pretty relaxed. I guess he was more vulnerable in his weaken state.

I discovered while researching something else that Walnuts contained an acid that is a powerful sedative. So if you can’t sleep eat a handful of walnuts and go to bed.  🙂 I am not guaranteeing deep sleep but you stand a good chance of relaxing.

Gluten-Free Bread Success

I have been trying to bake gluten-free bread that had the texture and height to qualify as a sandwich bread. The first attempted tasted fine but did not rise to the sandwich bread size standard. I made the substitutions for wheat flour as directed in my bread recipe but the outcome was not completely satisfactory. Since that effort I have searched for a recipe that would give me the desired results. I went to Barnes and Noble to get a book I had found online but they did not have it. I found another called The How Can It Be Gluten-Free Cookbook from the American Test Kitchen. I decided to give it a try.

They have several bread recipes but I chose the Classic Sandwich Bread. I used Bob’ Red Mill Gluten-Free flour blend, almond milk, homemade dairy-free butter and agave nectar instead of their blend, sugar, butter and dry milk.


I had to forget all that I knew about baking bread. There was no kneading to be done. The instructions said the dough consistency would be like sticky cookie dough. It was. They said the dough would rise above the pan and advised that you make this aluminum foil collar. It did. If I had not done that it would have spilled our over the pan. I didn’t make it tight or stiff enough because it spilled over a little bit. That made it hard to get out of the pan when it was done. My husband and I were quite pleased with the results. He was too thrilled about the first attempt.  🙂

I am very please with the bread and the cookbook. It is also a teaching aid for novices to gluten free cooking. The recipes are tested and critiqued by home cooks before publishing. Tomorrow is cook day. I plan to try their flatbread and corn tortilla recipes.


Now To Make It Happen

Today’s assignment is to determine three (3) goals that I would like to accomplish with my blog. When I first began blogging it was to find out if anyone was interested in what I had to say. It seems a few people are.

  • One of my goals is to learn what people are interested in and to learn how to effectively match my writing interest with their reading interest. I am writing a book but I didn’t know if anyone would buy it.
  • The second goal is to increase the number of connections to be inspired by and to inspire.
  • Speaking is one of my gifts and I enjoy informing and motivating people. Knowing what people are interested in could give me an opportunity to do something I love.

On that note, I will be speaking at a Black History Picnic celebration here in Perris, CA. It will be interesting because I am asked to speak about healthy nutrition while the listeners are eating soul food. This will be a challenge.The next day I will be speaking at our church for morning worship.I am going to have an exciting weekend.

In the meantime, I am trying new recipes to introduce to our congregation during our health ministry. Tonight it was a Dr. Hyman’s Sun-dried tomato Turkey Burger. This is a recipe in The Daniel Plan written by Pastor Rick Warren, Dr. Daniel Amen and Dr. Mark Hyman. It was very tasty.